说明:
在家里电脑Windows系统上装个Ubuntu18.04(其实为了装个docker,测试个项目,结果就是弄不好,然后我刚开始装的是Ubuntu16.04,结果怎么也弄不上,然后Windows系统因为是删减版的,也不支持docker,反正一言难尽。。。弄了一个周也没有最终安装一个Ubuntu18.04安装docker环境,如果周六休息一天有时能就整理个博客,今天先把我刚刚Ubuntu18.04安装python2.7和python3.6.8版本弄好,记录下我的误解和最终找到的安装方法)
1、安装python2.7和python3.6
刚开始我想使用下载,发现安装步骤执行不了,Ubuntu,和Linux的centos系统下安装的python步骤还真不一样。
1、我错误的步骤1:
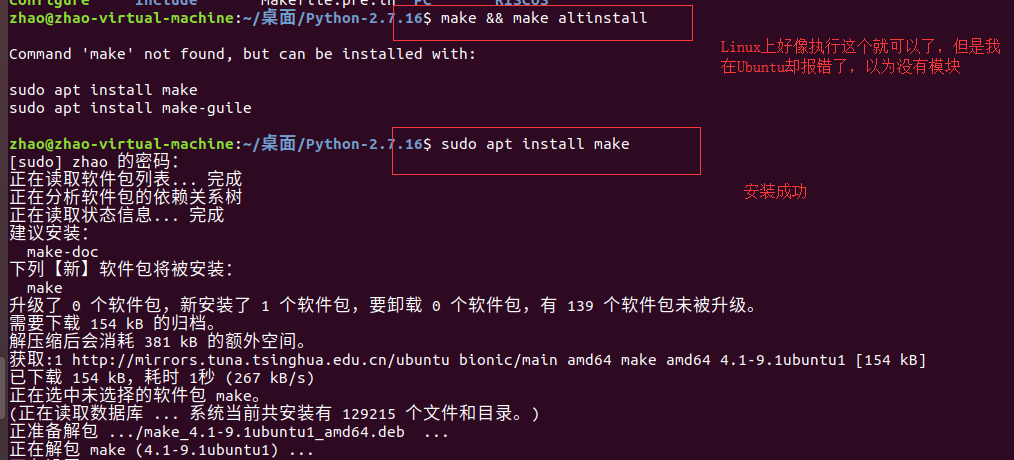
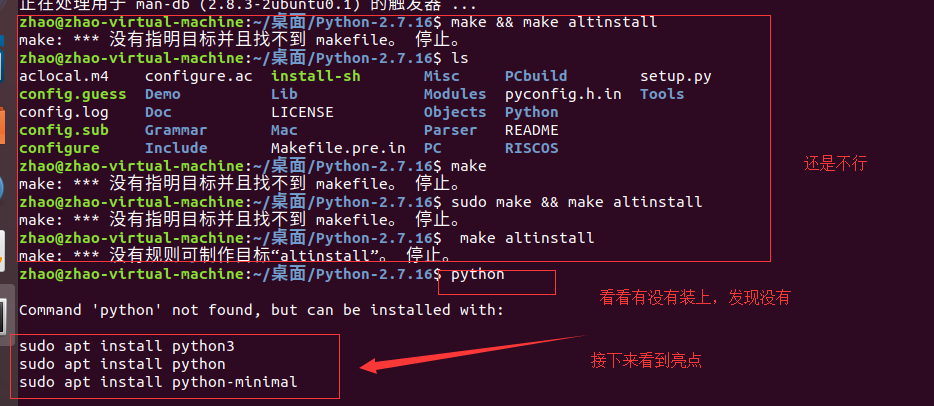
我想着按安装Linux一下,下载,解压,然后安装,结果,发现下载都下载不动,后来才需要翻*一下,才可以

然后我就用我自己的(自己买的使用的),然后下载下来,传到Linux里面,以为这样就能安装成功了,结果。。。
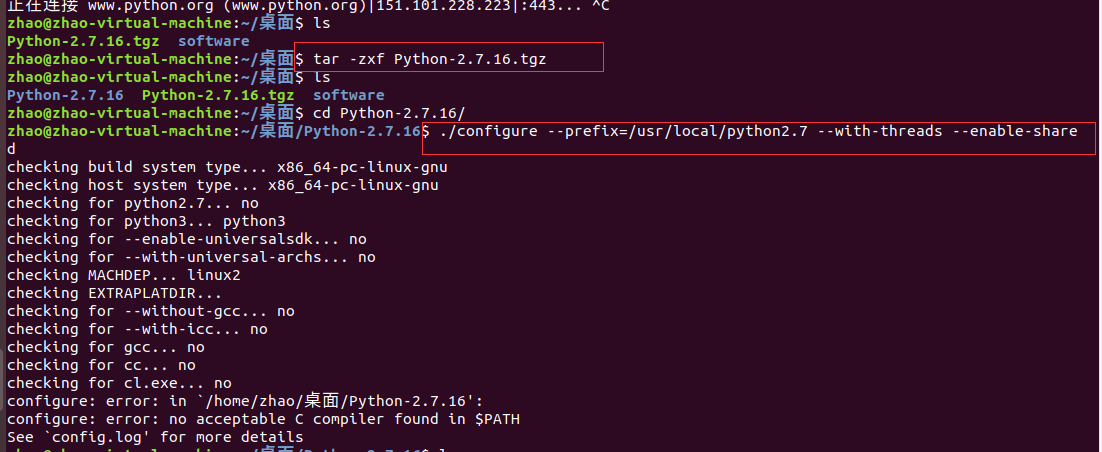
以为马上就要安装好了,结果却执行不成功
2、正式安装python开始
然后谷歌搜索了一番,找到一个安装不不错博主,安装成功立马给人家默默的点赞,虽然没有什么,但是我感觉是给博主一个鼓励,毕竟我写博客有时候也希望能帮助别人,点赞是对博主的一个认可(我感觉是这样的,嘻嘻)

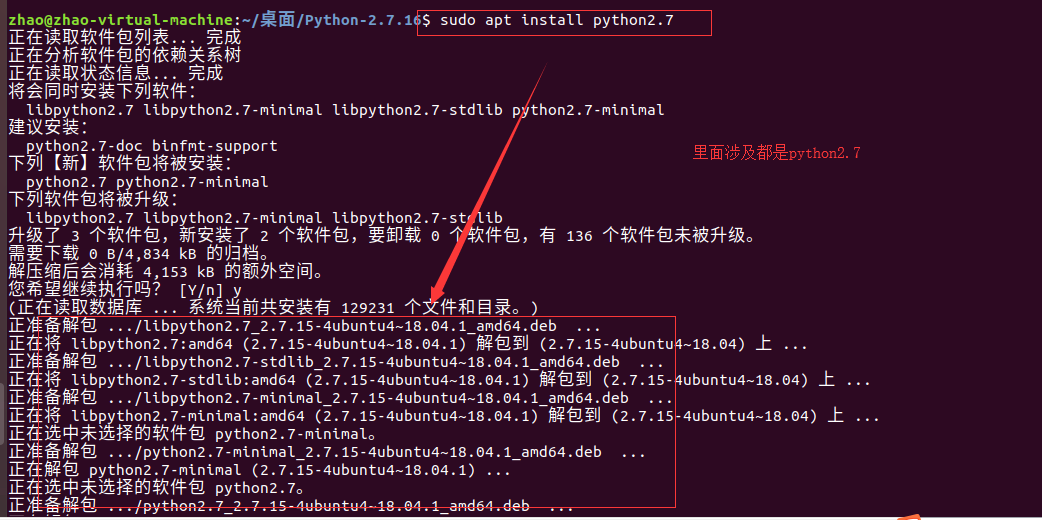
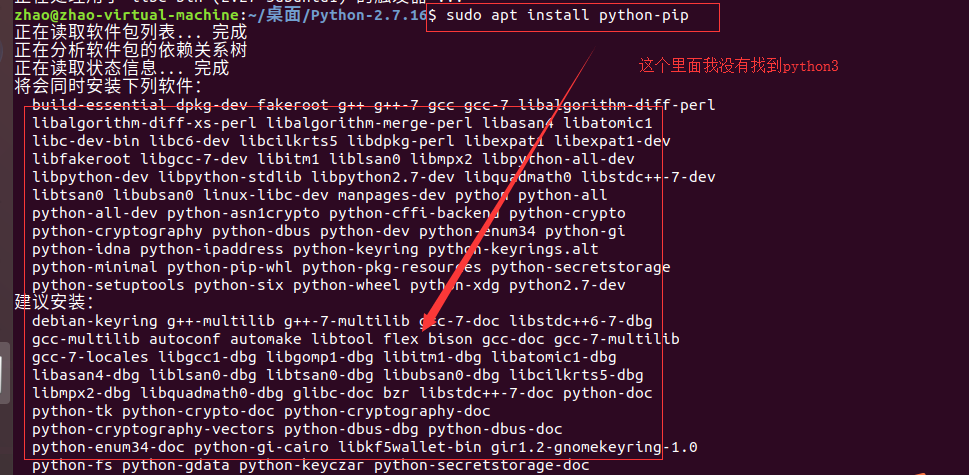
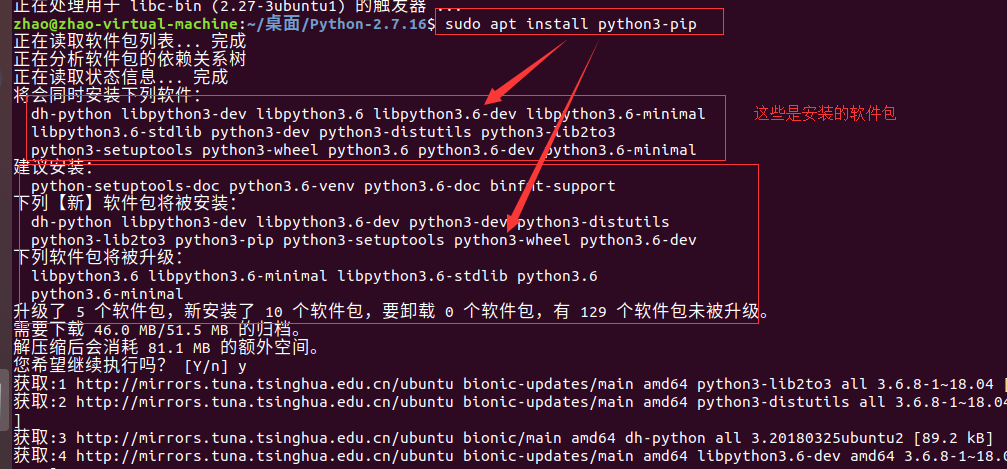
其实也就下面三个命令就能安装成功了,第一个命令是安装python2.7,第二个命令是按照python2.7的pip,第三个是python3和python3的pip一起安装(这个我也是看到里面安装的log才看懂的。)
提醒:如果不需要python2版本,直接执行第三行命令就行了。
1 | sudo apt install python2.7 |
2 | sudo apt install python-pip |
3 | sudo apt install python3-pip |
下面这几张图我只截图了一点开头,因为太长了,自己测试使用就行了。
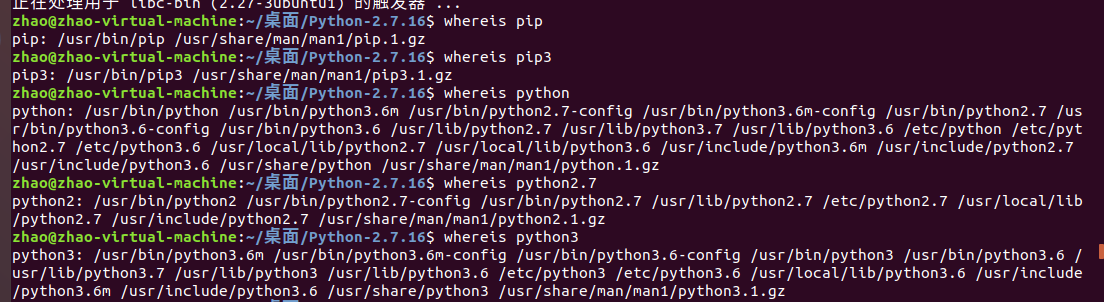
3、安装成功测试:
1 | whereis pip |
2 | whereis pip3 |
3 | whereis python2.7 |
4 | whereis python3 |
1 | pip -V |
2 | pip3 -V |
3 | python -V |
4 | python3 -V |

这个时候就知道了,如果直接使用python会使用python2,所以命令要分开。下面我就再整理下虚拟环境。
二、安装虚拟环境配置:
1、安装虚拟环境
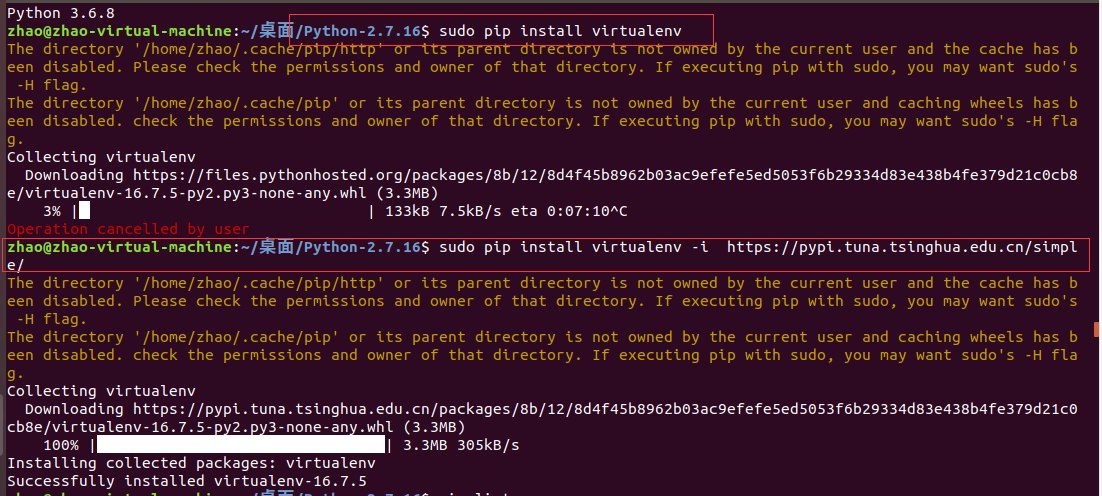
我这个是安装python2里面的。然后要使用一个镜像源,这样安装快一点,不然太慢了。我这里使用的是清华大学的。
1 | sudo pip install virtualenv -i https://pypi.tuna.tsinghua.edu.cn/simple/ |
然后想着安装管理虚拟环境的管理器virtualenvwrapper。
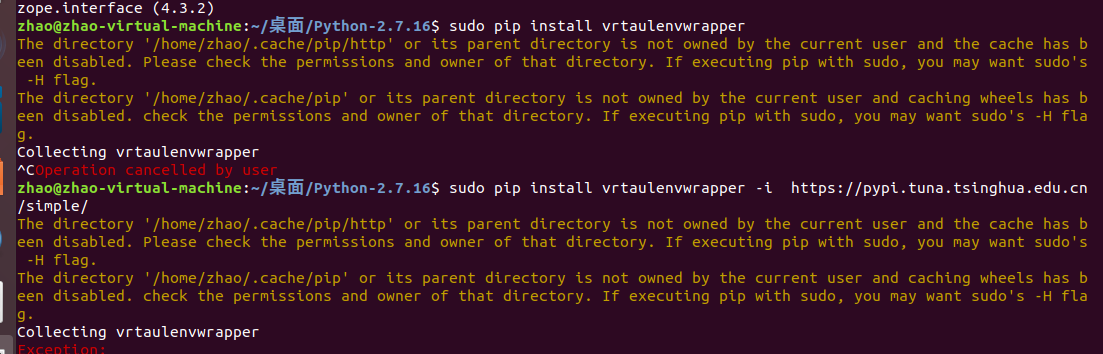
然后才知道需要这个在Ubuntu里面命令安装(截图的命令我在Linux的centos里面的命令可以安装。)
1 | |
2 | sudo apt-get install virtualenvwrapper |
2、配置虚拟环境:
此时还不能使用virtualenvwrapper,实际上你需要运行virtualenvwrapper.sh文件才行。
配置步骤如下:
1、查看virtualenvwrapper的安装路径
1 | sudo find / -name virtualenvwrapper.sh |

2、创建目录用来存放虚拟环境(我选择在home目录下创建)
1 | mkdir ~/myvirtualenvs |

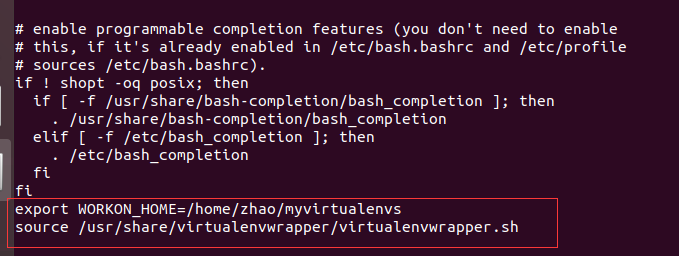
3、在~/.bashrc中添加行(vi ~/.bashrc)最后面加入俩行
/usr/share/virtualenvwrapper/virtualenvwrapper.sh
这个是第一步查到的位置。
/home/zhao/myvirtualenvs/是刚刚创建的新目录。
1 | export WORKON_HOME=/home/zhao/myvirtualenvs/ |
2 | source /usr/share/virtualenvwrapper/virtualenvwrapper.sh |
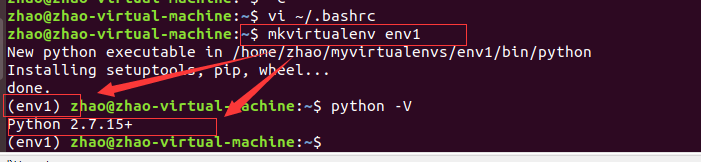
4、运行: source ~/.bashrc
1 | source ~/.bashrc |
此时virtualenvwrapper就可以使用了。
3、virtualenvwrapper的功能
1 | workon: 列出虚拟环境列表 |
2 | lsvirtualenv: 列出虚拟环境列表 |
3 | mkvirtualenv: 新建虚拟环境 |
4 | workon [虚拟环境名称]: 切换/进入虚拟环境 |
5 | rmvirtualenv : 删除虚拟环境 |
6 | deactivate: 离开虚拟环境 |
到此,达到我想要的要求了。
4、Ubuntu指定不同的python的版本配置虚拟环境(如果你安装一个python版本可以跳过):
前提是有俩个python版本,根据上面安装的我的默认python为python2.7版本,但是如果我的其他项目需要python3了怎么创建一个新的虚拟环境呐?有思考了尝试弄了一会,找到一个解决方案:
因为我们Ubuntu安装virtualenvwrapper时,不是使用pip安装,所以我就人为它是一个软件,相关Windows上面的一个文件或者软件管理软件。全局使用都可以。
所以先查找如何制定版本
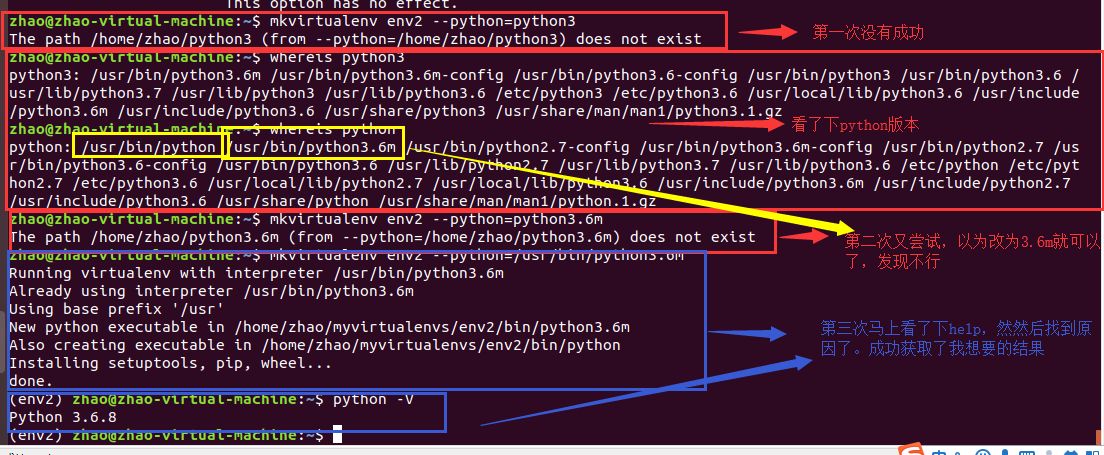
①查找如何置顶版本
1 | mkvirtualenv -h |
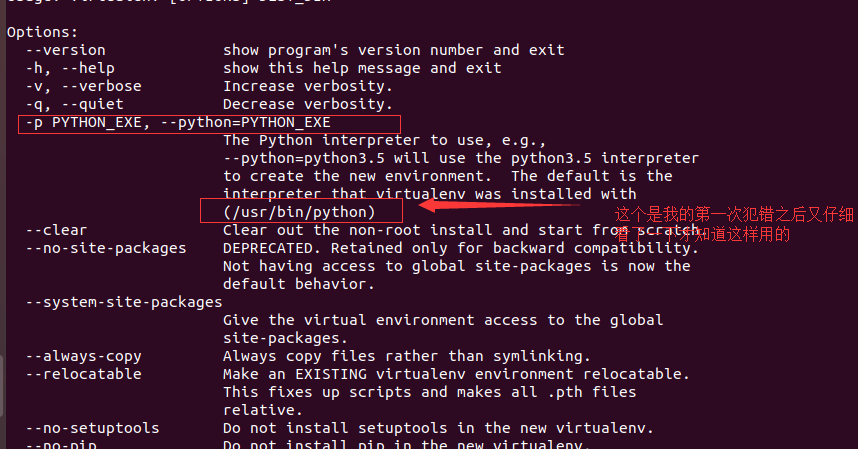
②、查找python的位置+解决方法:
其实,这个很简单,就是后面跟个–python=python版本的绝对路径。
1 | whereis python3 |
2 | mkvirtualenv env2 --python=/usr/bin/python3.6m |